Decode Your Check Engine Light: The Ultimate OBD-II Guide
Table of Contents
That dreaded amber glow on your dashboard can trigger immediate anxiety. The check engine light (CEL) is your vehicle’s way of communicating that something in its complex system needs attention. But what does it really mean? This guide provides a complete check engine light diagnosis walkthrough, teaching you how to use an OBD-II scanner to decode the problem, understand the urgency, and decide on the right course of action to save time and money.
Solid vs. Flashing Check Engine Light: The Critical First Step
Before you do anything else, you must determine the state of the light. This is the most critical part of your initial diagnosis and dictates your immediate actions.
- Solid Check Engine Light: A steady, non-blinking light indicates a non-emergency fault has been detected. The problem could be anything from a simple loose gas cap to a failing sensor. While the issue should be diagnosed promptly to prevent decreased fuel efficiency or potential further damage, you can typically continue driving safely to your destination.
- Flashing Check Engine Light: A blinking or flashing light signals a severe, urgent problem that could cause immediate and expensive damage. This is almost always due to a significant engine misfire, where unburnt fuel is being dumped into the exhaust system. This can rapidly overheat and destroy your catalytic converter—a very costly repair. If your check engine light is flashing, you should reduce speed, avoid heavy acceleration, and pull over to a safe location as soon as possible. It is highly recommended to shut off the engine and call for a tow rather than continuing to drive.
Introduction to OBD-II Scanners: Your Diagnostic Toolkit
OBD-II (On-Board Diagnostics, second generation) is a standardized system mandatory in all vehicles sold in the United States since 1996. An OBD-II scanner is a diagnostic tool that connects to your vehicle’s OBD-II port, allowing you to communicate with its computer system. These devices retrieve the stored Diagnostic Trouble Codes (DTCs) that triggered your check engine light, giving you invaluable insight into what’s happening under the hood.
Types of OBD-II Scanners (Basic vs. Advanced)
OBD-II scanners come in various forms with different capabilities:
- Basic Code Readers: Inexpensive and simple, these tools read and clear basic engine codes. They are perfect for beginners who just want to know the initial code.
- Mid-Range Scanners: These offer more detailed code definitions, access to freeze frame data (a snapshot of sensor data when the fault occurred), and some live data streaming.
- Bluetooth/WiFi Adapters: These small dongles plug into the OBD-II port and connect to a smartphone app. Their functionality depends on the app used but often provides a powerful and user-friendly interface for DIYers.
- Advanced Professional Scanners: Ranging from several hundred to thousands of dollars, these tools offer comprehensive live data, bidirectional controls (to test components), and access to other vehicle systems like ABS, airbags, and transmission.
For most home mechanics, a quality Bluetooth adapter or a mid-range scanner provides the best balance of functionality and value for check engine light diagnosis.
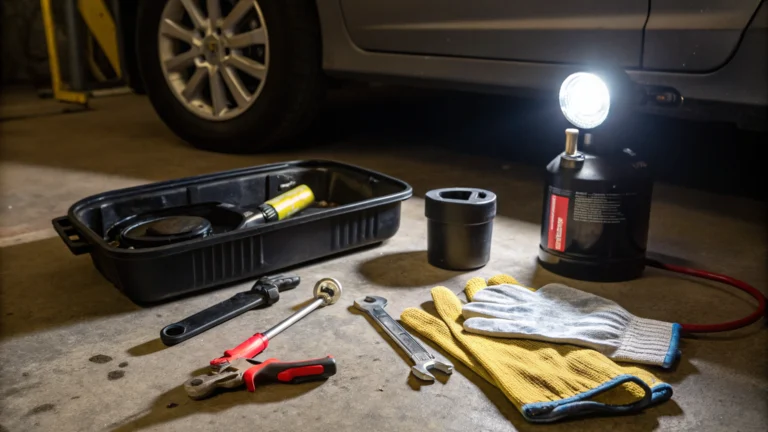
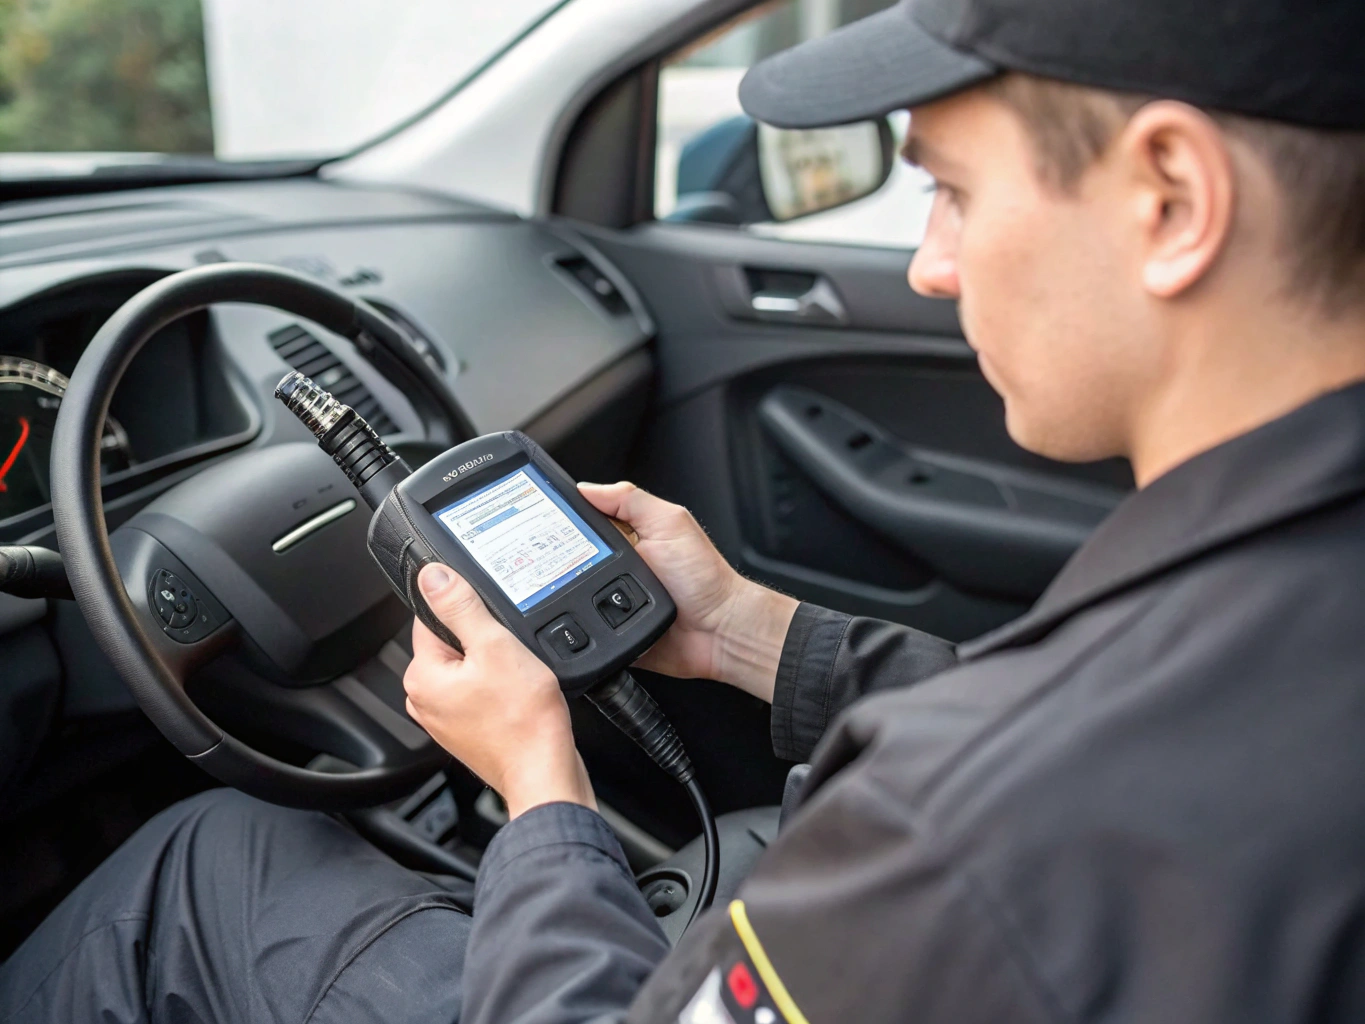
Using an OBD-II Scanner: A Step-by-Step Guide
- Locate the Port: Find your vehicle’s OBD-II port. It’s a 16-pin trapezoidal connector typically located under the dashboard on the driver’s side. If you can’t find it, your owner’s manual will show the exact location.
- Connect the Scanner: With the vehicle turned off, plug the scanner’s connector firmly into the port.
- Power On and Retrieve Codes: Turn your vehicle’s ignition to the “ON” position (do not start the engine). Follow your scanner’s instructions to connect and navigate to the “Read Codes” or similar menu. The scanner will retrieve any stored DTCs.
- Record Everything: Write down all the codes displayed, including the specific code number (e.g., P0420) and its description. If your scanner offers freeze frame data, record that as well.
- Repair and Reset: After you have identified and repaired the underlying issue, you can use the scanner to “Clear Codes.” This will turn off the check engine light. Driving the vehicle for a few days will confirm if the repair was successful (the light should stay off).
Interpreting Common OBD-II Codes and Their Causes
A trouble code is your starting point for diagnosis. Here are some of the most frequent culprits behind a check engine light, ranging from simple to serious.
EVAP System Leaks (e.g., P0440-P0457)
The Issue: The Evaporative Emission Control (EVAP) system prevents gasoline vapors from escaping into the atmosphere. A leak in this system will trigger the CEL.
Common Causes: The most frequent and cheapest fix is a **loose or faulty gas cap**. Before panicking, always ensure your gas cap is tightened until it clicks. Other causes include cracked EVAP hoses or a faulty purge valve.
Symptoms: Usually none, other than the light itself and possibly a faint fuel smell.
Oxygen Sensor Issues (e.g., P0130-P0167)
The Issue: Oxygen (O2) sensors measure the amount of unburned oxygen in your exhaust. The vehicle’s computer uses this data to maintain the optimal air-fuel mixture.
Common Causes: Sensors fail over time due to contamination from oil, coolant, or carbon buildup.
Symptoms: Significant decrease in fuel economy, rough idling, and failed emissions tests. Ignoring this can lead to damage to the catalytic converter.
Engine Misfires (e.g., P0300-P0308)
The Issue: A misfire occurs when one or more cylinders fail to provide power. A random misfire code is P0300, while specific cylinders are identified by the last digit (e.g., P0301 for cylinder 1). This is the most common cause of a flashing check engine light.
Common Causes: Worn-out spark plugs, faulty ignition coils or spark plug wires, or issues with the fuel injector.
Symptoms: Engine running rough, shaking or vibrating, hesitation during acceleration, and a noticeable loss of power.
Mass Airflow Sensor (MAF) Problems (e.g., P0100-P0104)
The Issue: The MAF sensor measures the amount of air entering the engine, helping the computer calculate how much fuel to inject.
Common Causes: The sensor can get dirty or fail. A dirty or improperly installed air filter is a frequent cause of MAF sensor contamination.
Symptoms: Stalling, hard starting, poor acceleration, and erratic idling. Often, the sensor can be cleaned with a specialized MAF cleaner spray for an easy fix.
Catalytic Converter Failure (e.g., P0420, P0430)
The Issue: This is one of the most expensive potential repairs. The catalytic converter turns harmful carbon monoxide into less harmful carbon dioxide. P0420 indicates “Catalyst System Efficiency Below Threshold.”
Common Causes: A catalytic converter rarely fails on its own. It’s usually a symptom of another problem, like a long-ignored misfire or a faulty O2 sensor that allowed the converter to overheat and melt internally. This is why addressing other CEL issues promptly is critical. For more information on vehicle emissions standards, you can consult official resources like the U.S. Environmental Protection Agency (EPA).
Symptoms: Reduced performance and acceleration, rotten egg smell from the exhaust, and decreased fuel economy.
Advanced OBD-II Diagnostics for Experienced Users
For those comfortable with deeper diagnostics, mid-range and advanced scanners offer powerful features. Live Data Monitoring allows you to view real-time data from sensors like O2 sensors, fuel trim (STFT/LTFT), and engine RPM. This helps you see if a sensor is performing erratically rather than just being completely dead. Freeze Frame Data provides a snapshot of all sensor readings at the exact moment the fault code was triggered, which is invaluable for diagnosing intermittent problems that only occur under specific conditions (e.g., only when the engine is cold or at highway speeds).
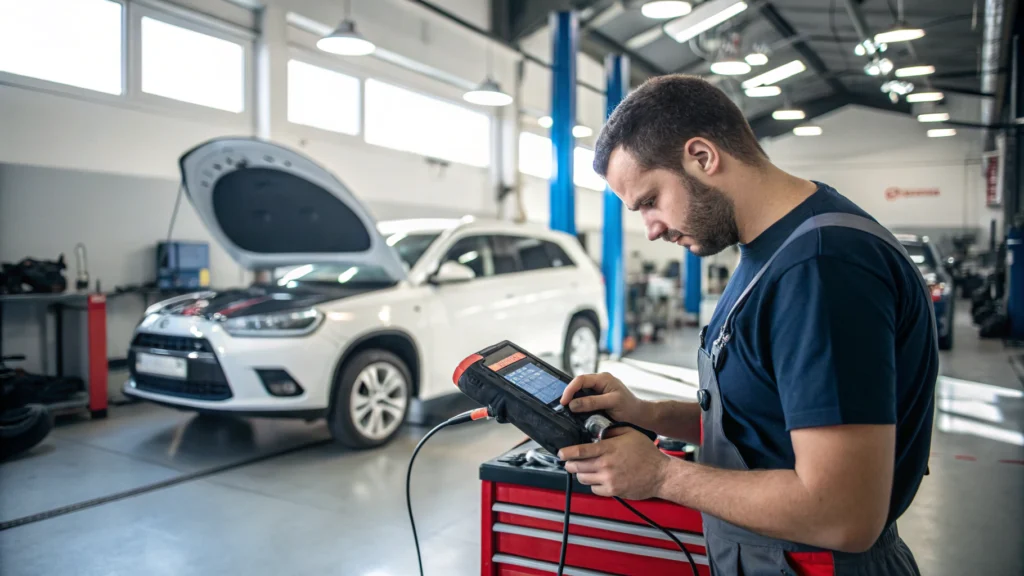
When to Seek Professional Help
While an OBD-II scanner is a powerful ally, some situations warrant professional attention from an ASE-certified technician. Consider seeking expert help if you encounter multiple complex or conflicting codes, intermittent problems you can’t reproduce, or issues that require specialized equipment like an oscilloscope or smoke machine for EVAP leak detection. And as a rule, always consult a professional for a flashing check engine light if the cause isn’t immediately obvious. If you’re just starting, our guide on the best OBD2 scanners for beginners can help you choose the right tool.
Frequently Asked Questions
What are typical reasons for a check engine light?
Common reasons include a loose gas cap, faulty oxygen sensors, catalytic converter issues, mass airflow sensor problems, and failures in the ignition system like spark plugs or coils.
How can I quickly diagnose a check engine light?
Using an OBD-II scanner is the fastest and most accurate method. It plugs into your car’s diagnostic port and provides specific fault codes that help pinpoint the problem area, saving you from guesswork.
Is it safe to drive with a check engine light on?
It depends. If the light is solid (steady), it’s generally safe to drive to your destination, but you should get it checked soon. If the light is flashing, it signals an urgent and potentially damaging issue (like a severe misfire), and you should pull over immediately and shut off the engine.
As an Amazon Associate we earn from qualifying purchases.