Headlight Restoration: 3 Proven Kits & DIY Guide to Fix
Table of Contents
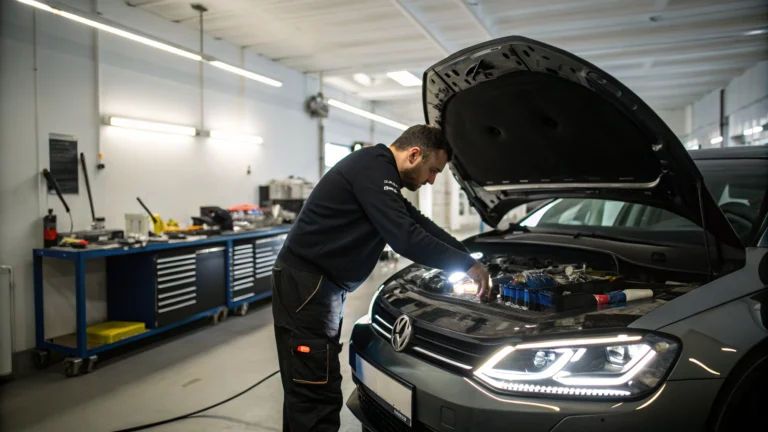
Have you noticed your car’s headlights looking cloudy or yellow? That hazy film isn’t just affecting your vehicle’s appearance—it’s a serious safety concern. This guide provides the ultimate headlight restoration kit shootout and a complete DIY guide to help you fix foggy headlights, restore brilliant clarity, and dramatically improve your nighttime visibility.
Why Headlights Get Foggy & Why It’s Dangerous
Modern headlights are made from polycarbonate plastic, a durable material that is unfortunately vulnerable to the environment. The primary culprit is ultraviolet (UV) radiation from the sun, which oxidizes the surface and breaks down the original protective coating, leaving them with that characteristic cloudy appearance.
This is compounded by constant bombardment from road debris, sand, and chemicals. The consequences are severe: foggy headlights can reduce light output by up to 80%, creating dangerous driving conditions. The Insurance Institute for Highway Safety (IIHS) has extensive research showing how poor headlight performance impacts driver safety, making restoration a critical task.
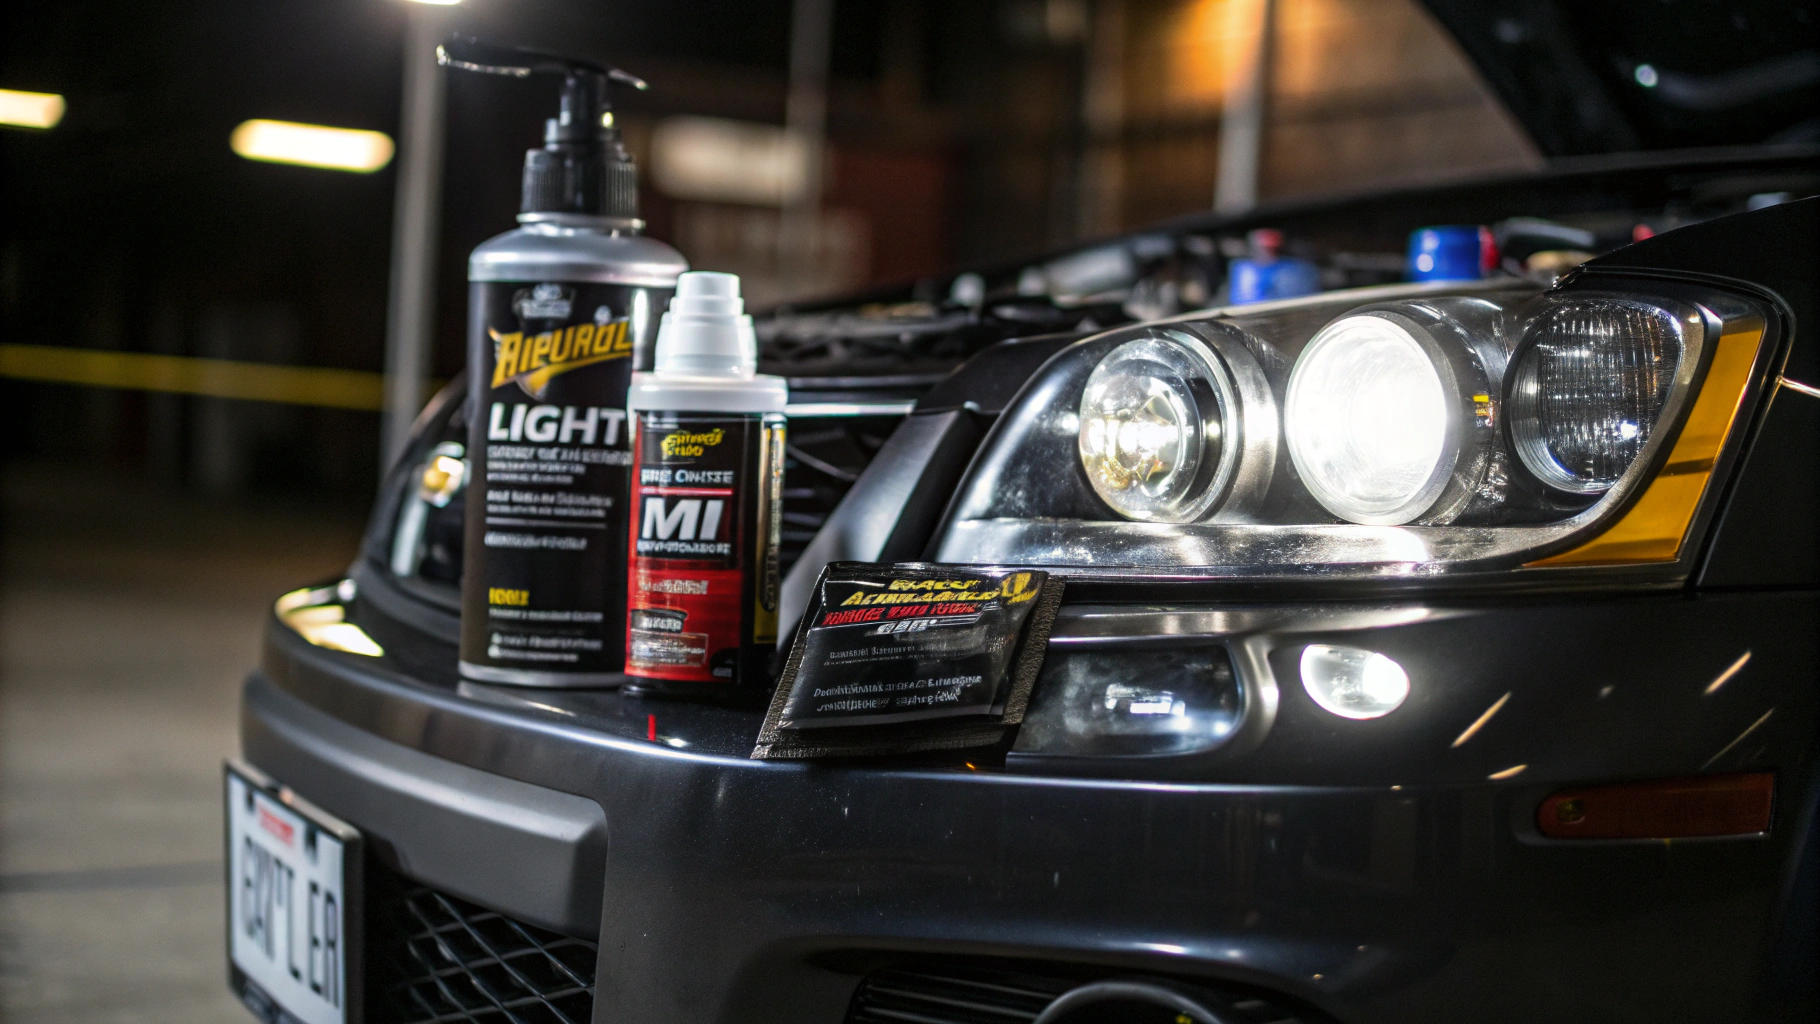
The Best Headlight Restoration Kits: Our Top Picks
After extensive testing of the most popular headlight restoration systems, we’ve narrowed down the top performers that consistently deliver professional-quality results. Here’s how the leading kits stack up.
Meguiar’s Headlight Kit Performance
The Meguiar’s headlight restoration kit is renowned as a user-friendly option that delivers impressive results. Its straightforward process doesn’t necessarily require power tools, making it accessible for all DIY skill levels. In our testing, Meguiar’s produced excellent clarity with minimal effort, achieving approximately 95% clarity. The included PlastX protectant provides a decent protective layer, though it may need reapplication after 6-12 months.
3M Headlight Kit Assessment
The 3M headlight kit takes a more professional, multi-step approach that requires a power drill for optimal results. While more time-consuming, the progressive sanding process effectively removes deep oxidation and scratches, producing the most dramatic transformation on severely oxidized headlights. The specialized protective coating from 3M also demonstrated superior durability, with many users reporting clarity lasting 12-24 months.
Verdict: Choose Meguiar’s for ease of use on light to moderate fogging. Choose the 3M kit for the most durable, professional-grade results on heavily oxidized headlights, provided you are comfortable using a drill.
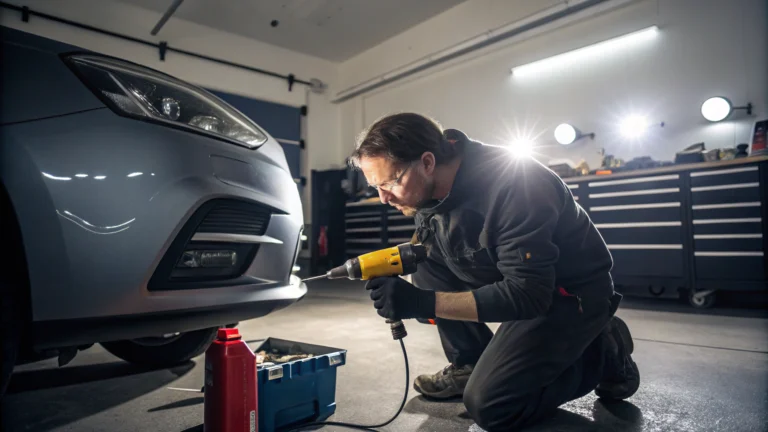
How to Restore Your Headlights: A Step-by-Step Guide
Now that you’ve chosen a kit, here is the proper method for how to clean foggy headlights and achieve professional results.
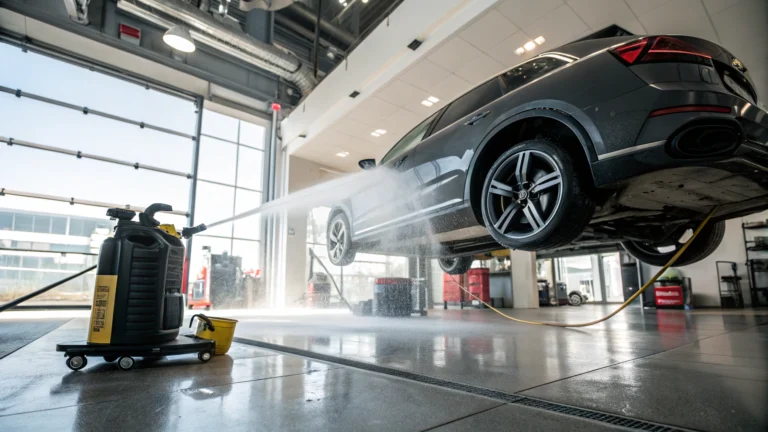
- Preparation: Wash the headlight area with automotive soap to remove all dirt. Dry completely, then use painter’s tape to mask off the paint around the headlight perimeter. This is a crucial step to protect your car’s finish.
- Sanding (The Most Important Step): For oxidized headlights, wet-sanding is necessary. Start with the coarsest grit sandpaper included in your kit (e.g., 1000 grit), lubricated with water. Sand in one direction (e.g., horizontally). Then, move to the next finer grit (e.g., 1500) and sand in the opposite direction (e.g., vertically). Continue this process, progressing to the finest grit (e.g., 3000). The headlight will look very cloudy at this stage—this is normal.
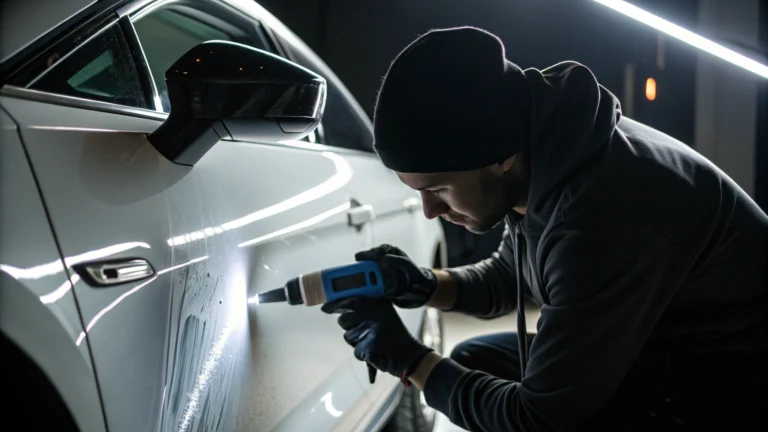
- Polishing: Apply the polishing compound from your kit to a microfiber cloth or buffer pad. Work the polish into the lens in overlapping circular motions until the fogginess disappears and optical clarity is restored. Wipe away any residue.
- Sealing (Do Not Skip!): The final step is to apply the UV sealant. This protective coating creates a new barrier against the sun and elements. Apply it evenly according to the kit’s instructions and allow it to cure completely, avoiding contact with water for the recommended time (often 24 hours).
After Restoration: How to Keep Headlights Clear
Successful headlight restoration doesn’t end after the final step. A proper maintenance plan is essential to preserve your results.
- Regular Cleaning: Wash your headlights monthly with mild automotive soap to remove contaminants before they can damage the new coating.
- Reapply UV Protection: Most sealants last 6-12 months. Mark your calendar to reapply a quality UV headlight sealant to extend the life of your restoration for years, not months.
- Strategic Parking: Whenever possible, park in a garage or shaded area to minimize direct sun exposure on your headlights. If you need more tips on sun protection, see our guide to protecting your car’s interior.
Frequently Asked Questions
How to clean foggy headlights?
To clean foggy headlights, wash and mask the area. For best results, use a restoration kit: wet-sand with progressively finer grits (e.g., 1000 to 3000), apply a polishing compound to restore clarity, and finish with a UV sealant to prevent re-oxidation.
What causes headlights to become foggy?
Headlights become foggy primarily due to UV exposure from the sun, which oxidizes the polycarbonate lens surface. Road debris and environmental contaminants also contribute. This oxidation significantly reduces light output, compromising nighttime safety.
Are DIY headlight restoration kits effective?
Yes, quality DIY headlight restoration kits are very effective, especially for moderate fogging. Their effectiveness depends on using a multi-step process that includes sanding, polishing, and—most importantly—a quality UV sealant.
How do you maintain headlights after restoration?
After restoration, maintain clarity by cleaning the lenses regularly with automotive soap, reapplying a dedicated UV headlight sealant every 6-12 months, and parking in the shade whenever possible to extend the life of your work.
As an Amazon Associate we earn from qualifying purchases.